OCR – Automatic recognition of receipts
In the following article, you will learn how to use automatic document recognition on your mobile device, tablet and your desktop.
To use automatic receipt recognition, you must first create a trip or expense report (which can be defined as a receipt folder). You can read how this works in the article "Submitting a multi-day trip".
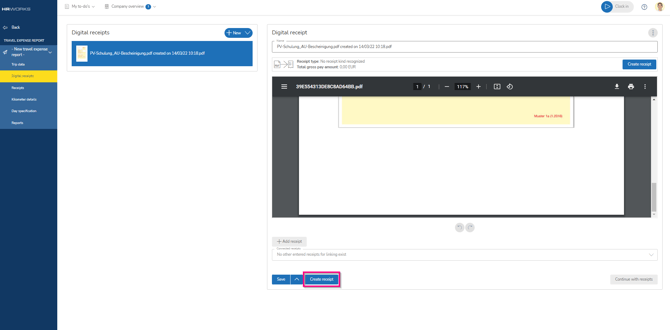
In the "Digital receipts" menu, the automatic receipt recognition (OCR) function is available within a trip or an expense report.
You can upload a new digital receipt or photograph a receipt (mobile) via the plus button or the drag and drop procedure. The automatic analysis of the receipt starts automatically in the background and is displayed to you graphically via the "Create receipt" button under the receipt photo. During the receipt analysis, it is possible to upload additional digital receipts and have them recognized in the background. Likewise, you can upload several vouchers directly at the beginning (max. 5 MB), which will be analyzed automatically in the background.

Once the analysis of the digital receipt is complete, the "Create receipt" button will be displayed in blue under the receipt photo.

Clicking on the "Create receipt" button transfers all recognized receipt data to the receipt entry mask and opens the mask to the right of the digital receipt for manual checking and correction or addition.
All known mandatory fields from the manual receipt entry must also be filled in here (e.g. expense details or end date of the hotel voucher, etc.).
With a click on "Save & New" the receipt is saved and you can directly photograph or upload another receipt. Via the drop-up (arrow up) in the "Save & New" button, you can alternatively select "Save" only if you are not uploading another digital receipt.
The "Continue with receipts" button will take you to the next menu, "Receipts", where it is possible to enter receipts manually only. If all your digital receipts have been recognized, you can also skip the "Receipts" menu.
